Back In A Flash
July 28th, 2011We are experiencing some technical difficulties (my computer has a virus!) and will be back as soon as we get the kinks worked out!
Ketchup
July 19th, 2011Oops, I mean Catch Up! We’ve been busy the past week or so getting ready for an upcoming trip and going on play dates. Basically, awesome summer stuff that involves sweating our skin off in super hot temperatures. I have a few things to share with you too, plus some freebies…


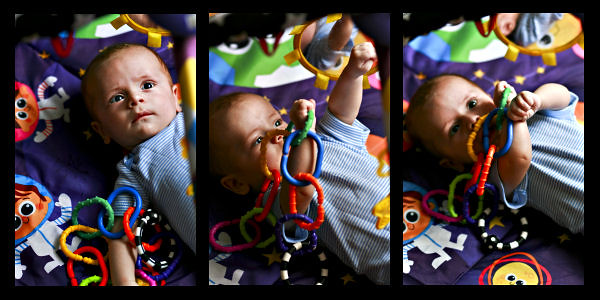
Sweet Pea found his hands! Which then found his mouth and makes for wonderful smelling tiny little palms. Yum. He has been attempting to grab toys and it is so much fun to watch him learn.
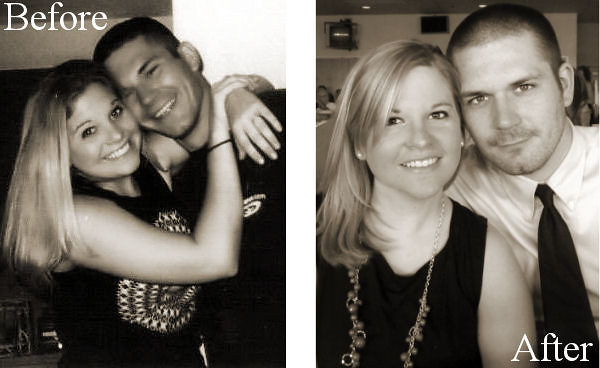
I found this old picture on the left while searching through some files on my external hard drive. It is from approximately 9 years ago and the one on the right was taken a few weeks ago. I’d say that we’ve aged decently in almost a decade, wouldn’t you?
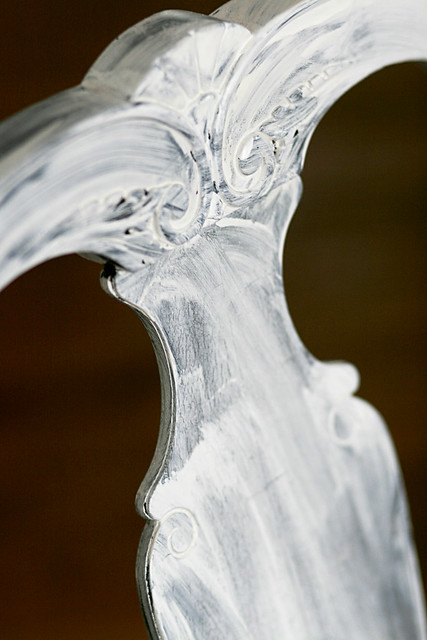
You may remember, way back when, that I mentioned I would be giving these two chairs a makeover. Well, I finally have them started with some primer and hope to have them finished up and in place soon.
Serious Sally 49/52

The other day, after meeting our new neighbors and Pinky having an amazingly good time at a play date, I decided to send them a thank you card for their hospitality. Instead of buying some new cards or using the ones that we have left over from our wedding (we had like 7,000 extras) I made one.
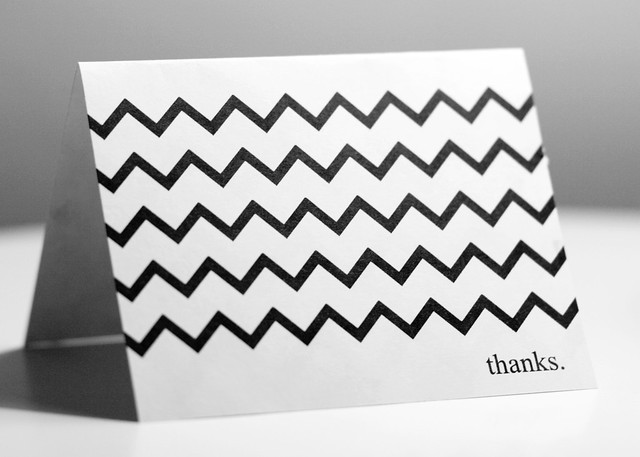
Actually, several, because I’m fickle.

Then, I thought “Hey, why let these great thank you card designs go to waste?” So, I’m sharing them here where you can download them for free and print them out on your own printer. Just click on the links below to download each PDF. Once you open the file, click print. Make sure to select “Properties,” then “Features” and check the “Borderless” box. This will ensure that the cards print evenly. Once your cards are printed, cut them in half (to 8.5″x5.5″) and then fold them in half. That’s it! Enjoy!
Miss Sassafras
July 12th, 2011This afternoon, while Pinky was getting ready for dance class, I opted to take a few photos of my spunky ballerina. She sure turned on the sass for this mini photoshoot, as you can see.
48/52


If only I could get her hair to stay out of her mouth! I must have removed it 1000 times and it still showed up in most of the pictures.
DIY Dress Clothes
July 6th, 2011Last week, I mentioned that I made an awesome dress shirt (aka painted onsie) for Sweet Pea. Honestly, finding dress clothes for an almost 3 month old still in newborn sizes is a bit of a challenge, so I naturally thought “why not make my own?”

I had read of other’s using freezer paper to make stencils for clothing and figured I would give it a try. Here is the super easy and fairly quick tutorial:
First, I gathered my supplies: A $2 white onsie from Walmart, freezer paper, black and white puffy paint, sponge brushes, exacto knife and an iron. After a 10 second search on the internet for clip art neck ties, I found one that I liked and printed it out. You may need to resize your image to fit on your clothing item. Then I cut out my clip art and traced it onto the freezer paper. Using an exacto knife, I carefully cut along my tracing to make my stencil. (Sorry, I neglected to take pics of the stuff up to this point, but you get the point.)

Once the iron was ready, I placed my freezer paper stencil on the onsie and ironed it on with the wax side down. This made it stick to the fabric and kept my paint from bleeding beyond the boarders of the stencil. (Don’t forget to place something underneath your fabric so that the paint does not bleed through.)

With the sponge brush, I dabbed on the black puffy paint in a thin layer over the exposed area of the fabric to fill in the stencil.

I waited for that to dry and then mixed some white paint with the black to create a shade of gray. My intentions were for Sweet Pea to some what match his sister, so gray polka dots were a must. (You know that all kids love when their parents dress them in matching outfits, right?!) Using the end of my sponge brush, I carefully dotted the spots in place.

After about 2 hours, the paint was completely dry and I carefully peeled of the stencil to reveal my little old man’s super cute dress shirt and tie. I swear he looks like he has a comb over in this photo!

And the siblings didn’t look too matchy matchy. However, they do both look incredibly goofy. I can’t figure out if he is trying to copy her silliness or if that is a slight sign of fear in his eyes!