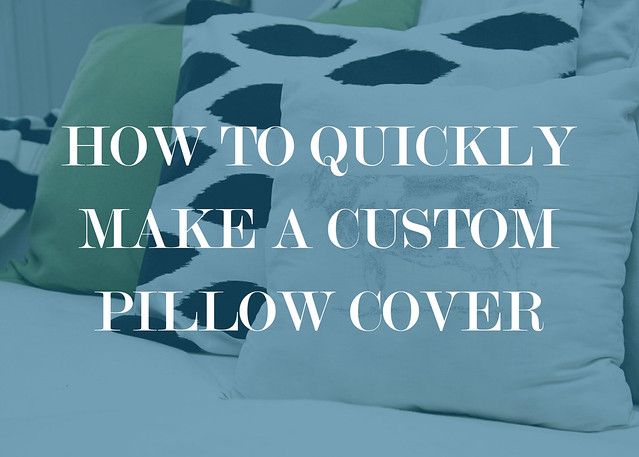
Freezer Paper Graphic Pillow
Did you know that you can easily transfer a graphic of your choosing onto fabric? Seriously, it’s super quick and simple. And you’re in luck because I’m going to tell you how.
I chose to make a pillow for Sweet Pea’s birthday party, but you could also use this technique for an abundance of different projects you may have. Start with some freezer paper and trace around a piece of card stock or regular 8.5″ x 11″ paper on to it and cut it out.

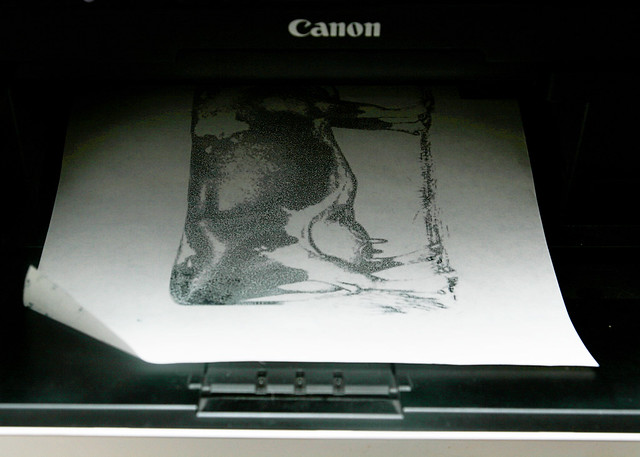
Pick an image you want for your project and print it out on the waxy side of the freezer paper. (I used my inkjet printer.)
Prepare you iron and fabric.

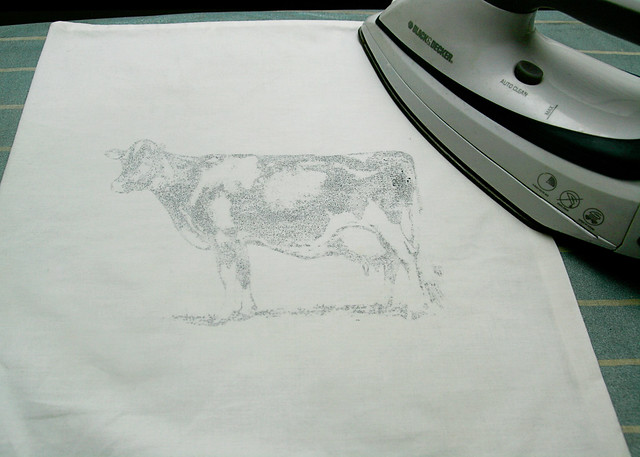
Lay the graphic printed side of the freezer paper flat on your fabric and iron it (without steam.) I placed a piece of card stock under my fabric to make sure that nothing would bleed through, since I had my pillow sewn and ready to be stuff immediately after my image was applied.
Admire your new pillow case and enjoy some of the easiest decor you have ever created.

Good luck to you and let us know if you use this technique for any of your own projects!
*Note: This project may or may not be washable, waterproof and rub proof. We have successfully had our pillow on the sofa for over a week and it is still going strong, but the intention was just to have something temporary. If/when the image smears or comes of, we will not fret.