I’ve Got Worms
Ok, that title is admittedly creepy, but definitely something that I’ve wanted to share. Way back in April of 2009, I talked about our family’s journey to becoming more earth friendly and mentioned that we were considering someday dabbling in vermi-composting. That’s right. WORMS! Yeah, that was almost 4 years ago.
Anyway, last spring we decided to try our hand at container gardening and a light bulb went off. Certainly, we would have more luck with some organic fertilizer, aka worm castings, since I have a black thumb. Enter the worms.

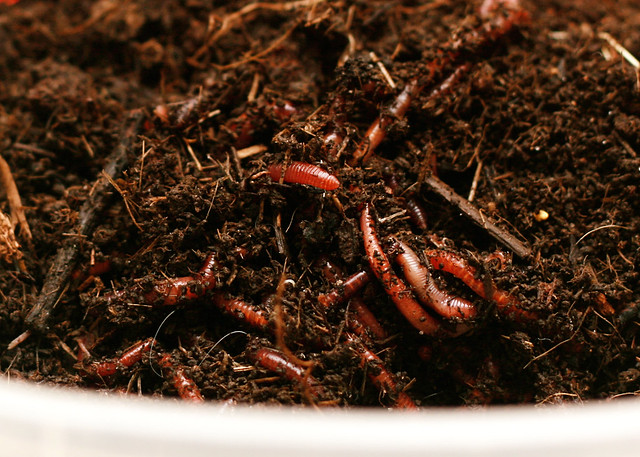
In May, I received this cute little package of red wigglers from a seller on Ebay.
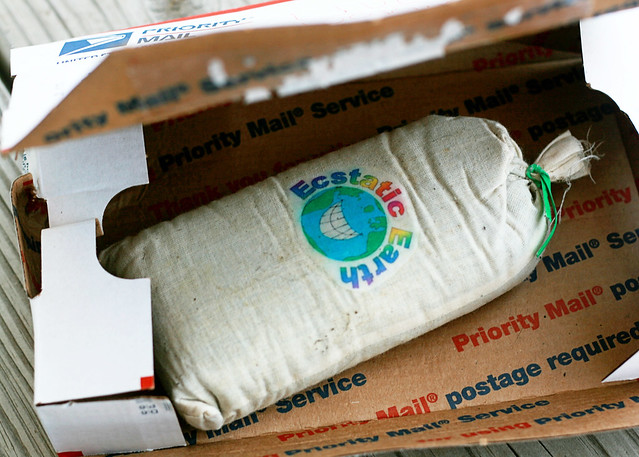
See, aren’t they adorable??
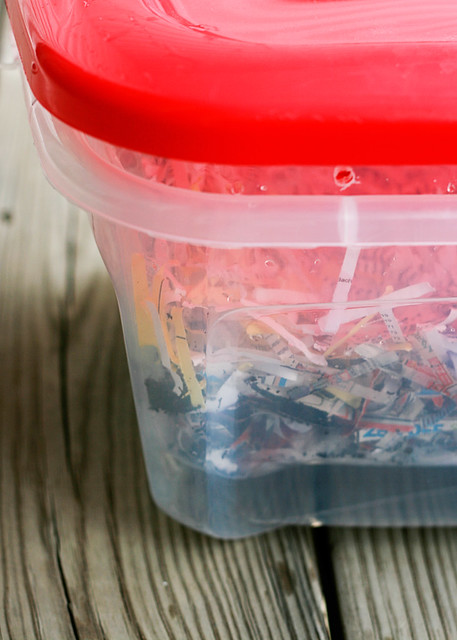
They were ridiculously inexpensive and the shipping was lightning fast. So fast, that I didn’t even have their future home ready when they got here. So I ran out and grabbed two plastic storage bins with lids from the dollar store (That’s right, $2 total for housing.) Once I got the boxes home, I start assembling them. First I drilled holes around the top and in the bottom of one container so that air could flow in and out. A worm’s got to breathe, you know.

My intention was to place one bin inside the other (the top bin with a lid for the worms and the bottom one to collect drainage.) However, my plan did not allow for the air holes to be uncovered, so I had to get creative. I used 2 wooden clothespins and glued one to each end of the bottom container so that the top container would be raised higher. You should be able to see the clothes pins in a photo or two below.
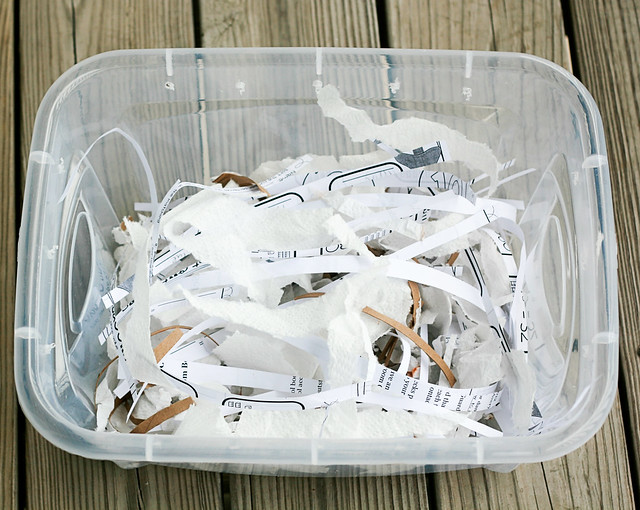
Then I started layering. First I added some bedding made from paper towels, toilet rolls and old school papers from the recycling bin. (The worms will eat this stuff too!)
Then I added leftover and bruised fruit and veggie scraps. Worms love to eat and they are particularly fond of most produce, except onions and citrus items. They can also handle starchy foods in limited amounts and we don’t put in any meat or dairy items. So far they seem happy with this diet. And all of that decaying, rotting food in there doesn’t smell funky at all. I swear!

I added another layer of shredded paper bedding over the food and then placed the worms on top of it all.
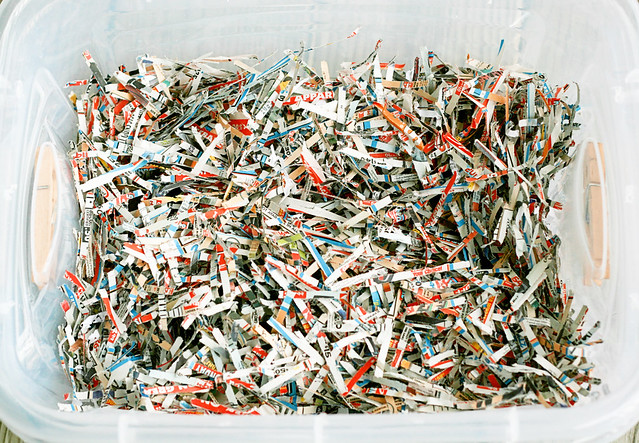
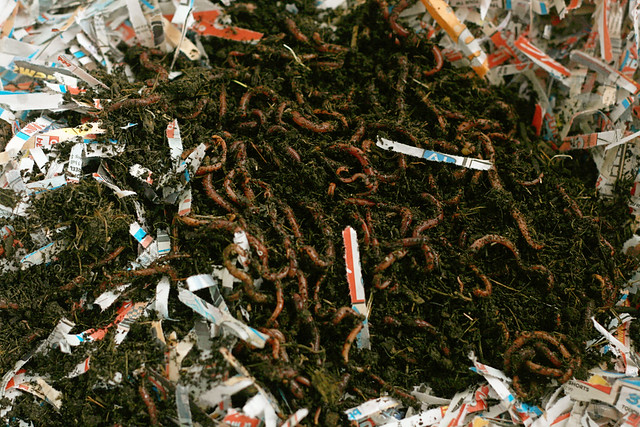
Next, I covered them with more shredded paper. I also added some moisture to the bin by sprinkling a tiny bit water on top of it.

And that was it. I put the lid on and now the worms comfortably live underneath our kitchen sink in the darkness.
Let me tell you. These creatures are eating machines. We keep our food scraps in a container in our freezer so they don’t get yucky while waiting to go in the bin and feed the worms about every 2 weeks or so. For us, this seems like just the right amount of time for our worms, but I’m sure it depends on the amount of worms and amount of food a person would have.
So far, so good for our little worm colony. It took a little longer than we planned for our composters to start producing, so we didn’t get to use the castings on a lot of our plants in the summer. However, since then, we have been able to collect some worm castings to use on our indoor house plants and they seem to be thriving. Hopefully, this spring our worms will come to our rescue in the container garden.
So tell me, do you compost? Do you have worms to help with the process? Or, do worms just gross you out? Let us know!